my POV (persistence of vision)
some years ago, i created a spinning LED display on my decommissioned hdd. I want to display message and time on the HDD while it spins. Basically I opened up the HDD, attached 7LEDs to it. Hook it up to a PIC16 which is the only MCU that is made available to me at that time. The result turns out to be very bulky, and I need to use a computer PSU (power supply unit) to on the HDD and a separate step down circuit for supply 5V to my pic16. During that time, I am still using a non-cam HP nor I have a camera and I do not document it down. BUT, the know how is already with me.
Ever since I got my hands on my arduino and my protoshield ready I have been toying with the idea of making 1 POV that is easy, less bulky and can fits in a palm in a snag. So that when I sing/dj in a concert, my fans would gyrate with their hands in the air and write a message for me with the POV (I hope is not asking me to stop singing!!). The EGO meter will shoot rocket high, so does my blood pressure. haha
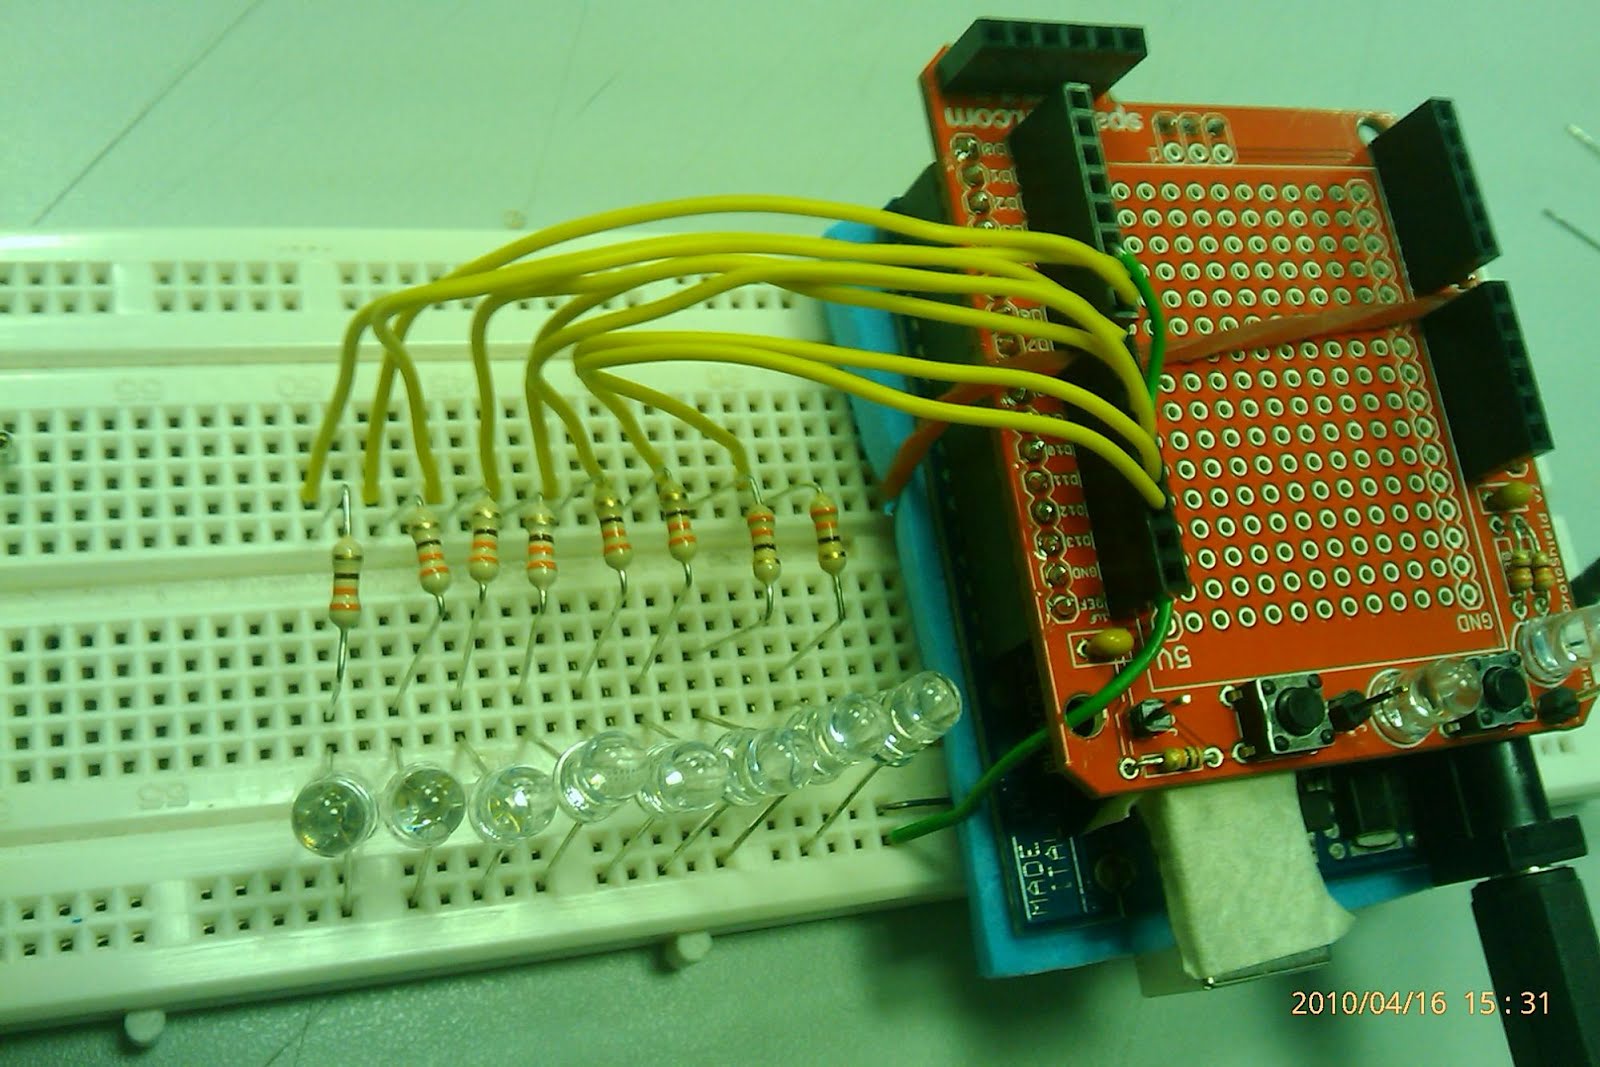
you would need 1x arduino+protoshield, 8x LEDs, 8x 330ohm resistor and code.
I am using the digital output of arduino, current limited by the resistor to the LEDs. This is how it will look like after hooking up all the components.
The Idea behind POV is to play a trick with the human eye. It is a known fact that human eye see things at a rate of 27Hz.
That is our eye's refresh rate. So anything that refreshes above that rate, the eye cannot notice the flicker.
Say I want to display the character "E" in a 8x8 matrix, the col is indicated with col1, 2 and so forth.
col1, 2,3,4,5,6,7,8
********
*
*
*****
*
*
*
********
I would light up the matrix column by column and each of the column is differ by 2.5ms (400Hz), this is only to light up 1 character.
If I want to light up a message say "EEE", I need to repeat it the process above for each of the character.
Straight away, I know that I need some form of loop control structure to display column by column, and character by character.
Furthermore, I too need a data structure to hold the message. The easiest way is to store the characters in a 2D array.
To make my life easier, I am using this website to help me generate the 2D array for the message to print.
I have a code template for you to use.
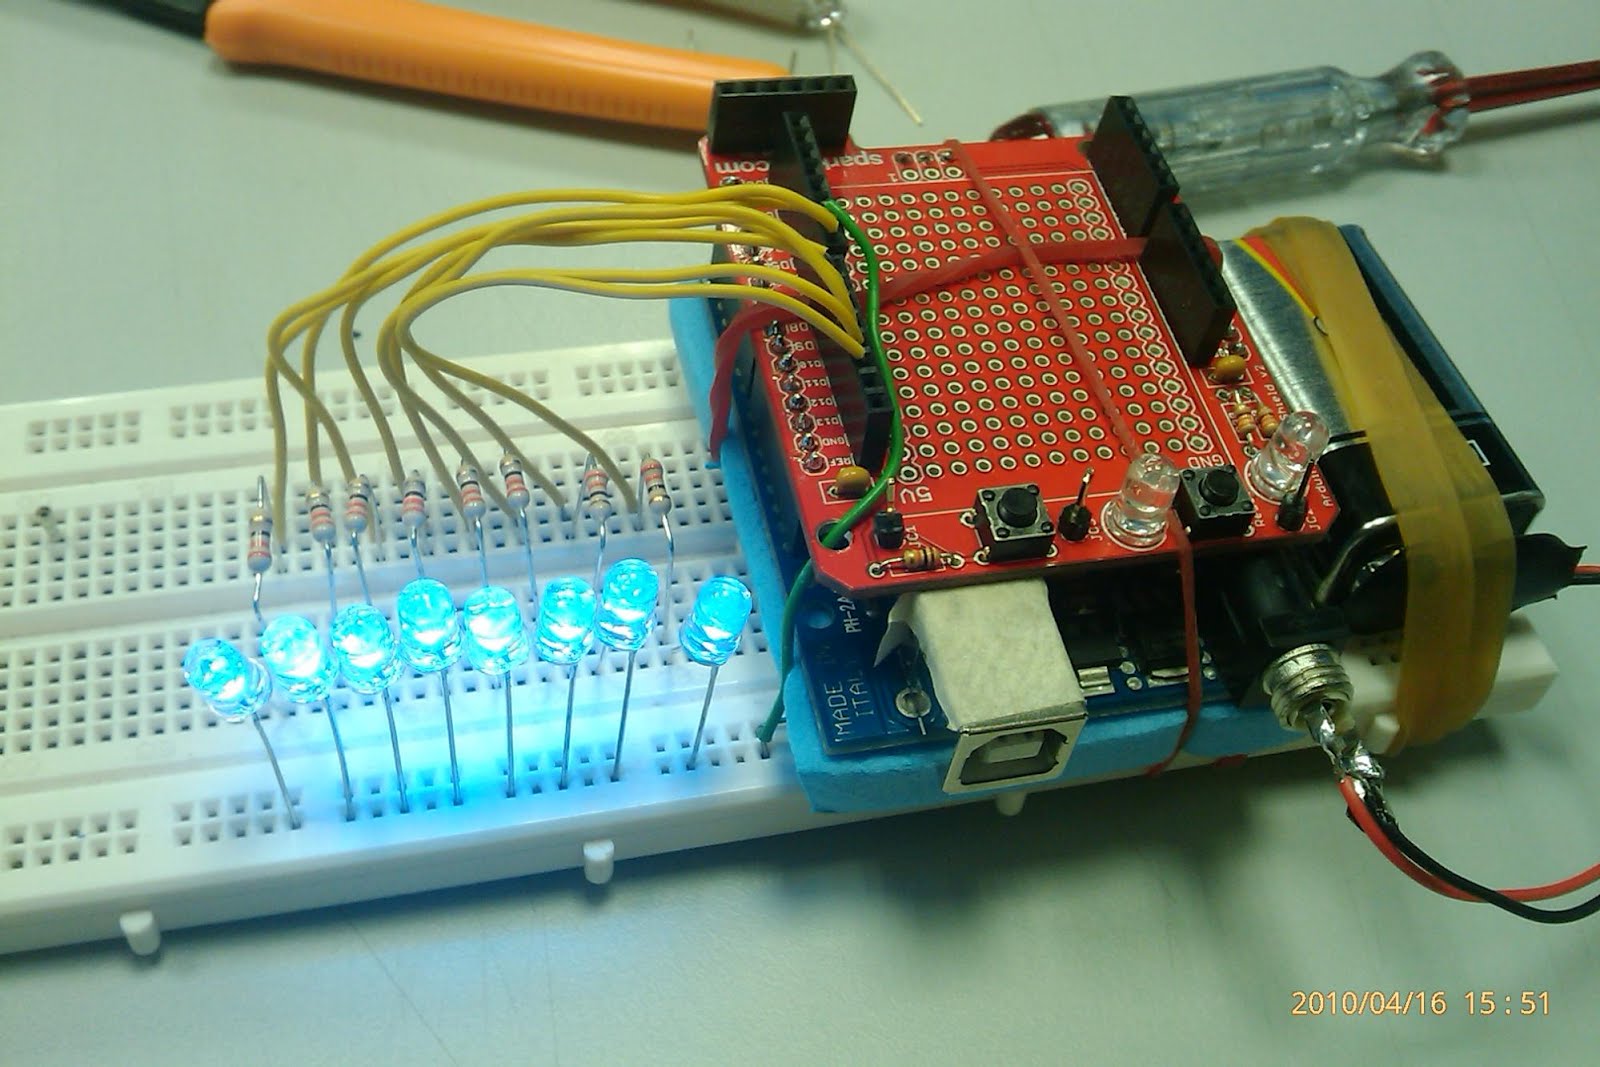
After finish programming, I need to test that all LEDs are working at the init of the code. It is cumbersome to swing the breadboard together with the USB cable. Hence I made a 9V battery connected for it.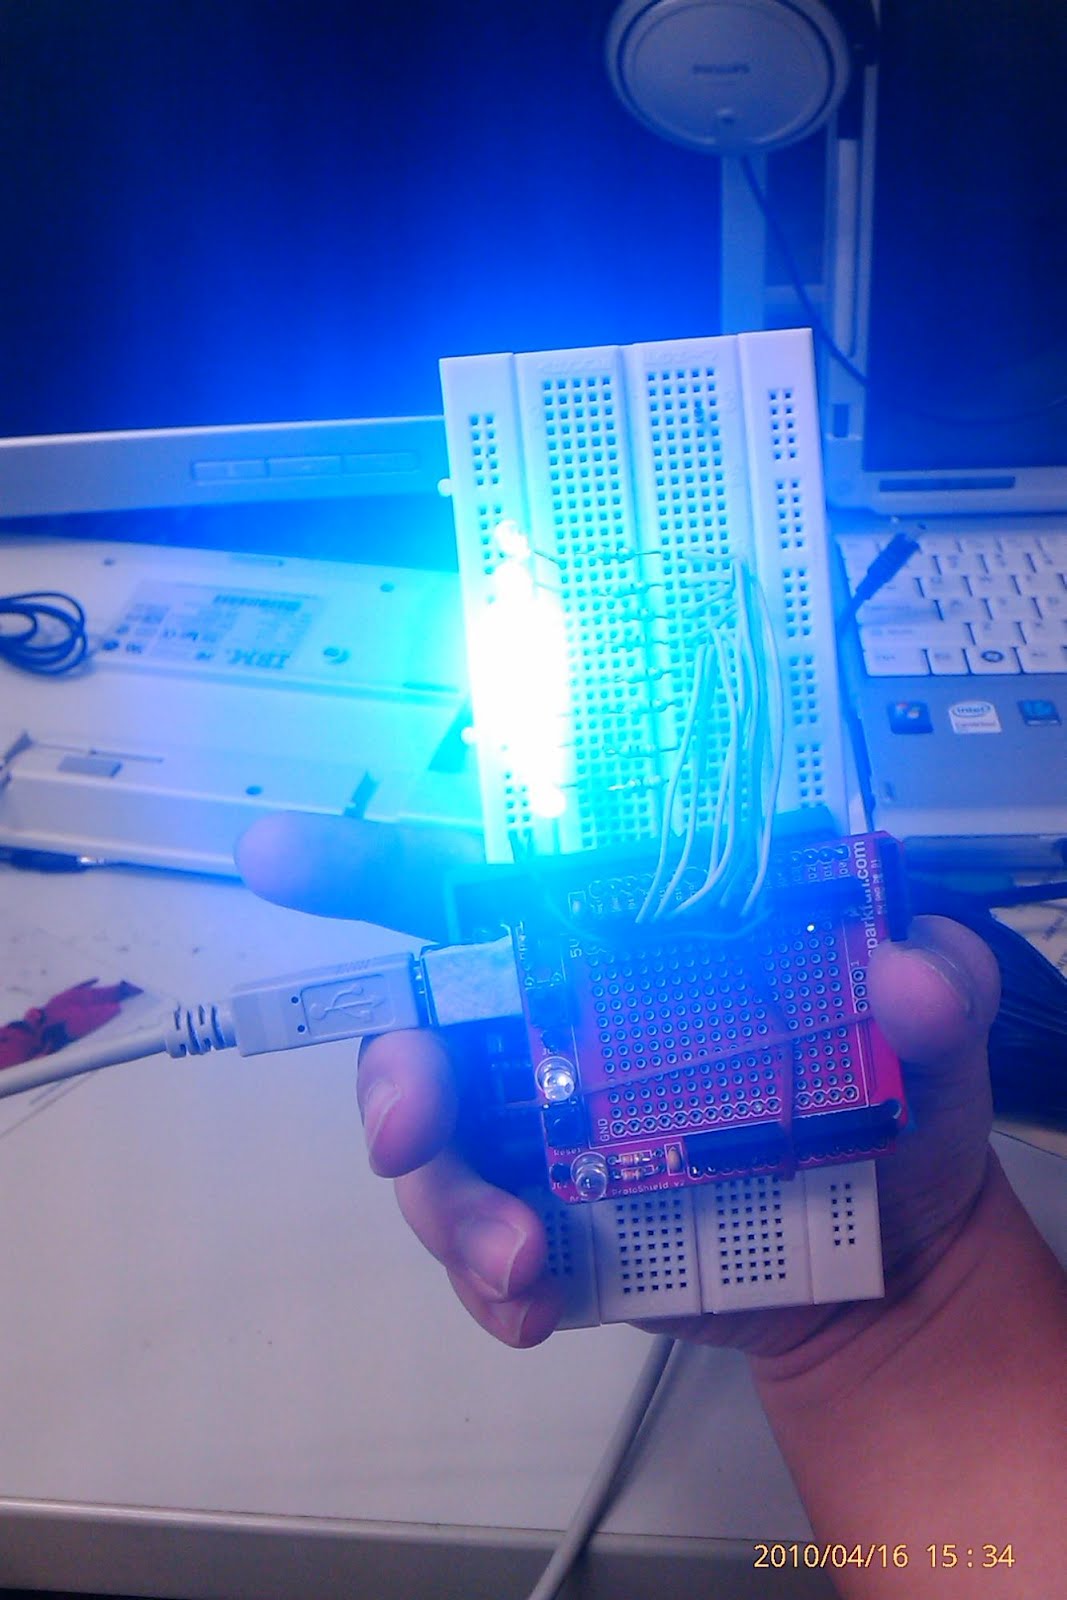
Below is an example of POV.... note that I hold my camera upside down....
What message am I printing????
What can place you can think of to use with this "toy" ??

No comments:
Post a Comment