the uploaders on thingiverse http://www.thingiverse.com/
My act is only possible with the altruistic vision that you uphold dearly.
step by step guide to 3D printing with makerbot replicator 2
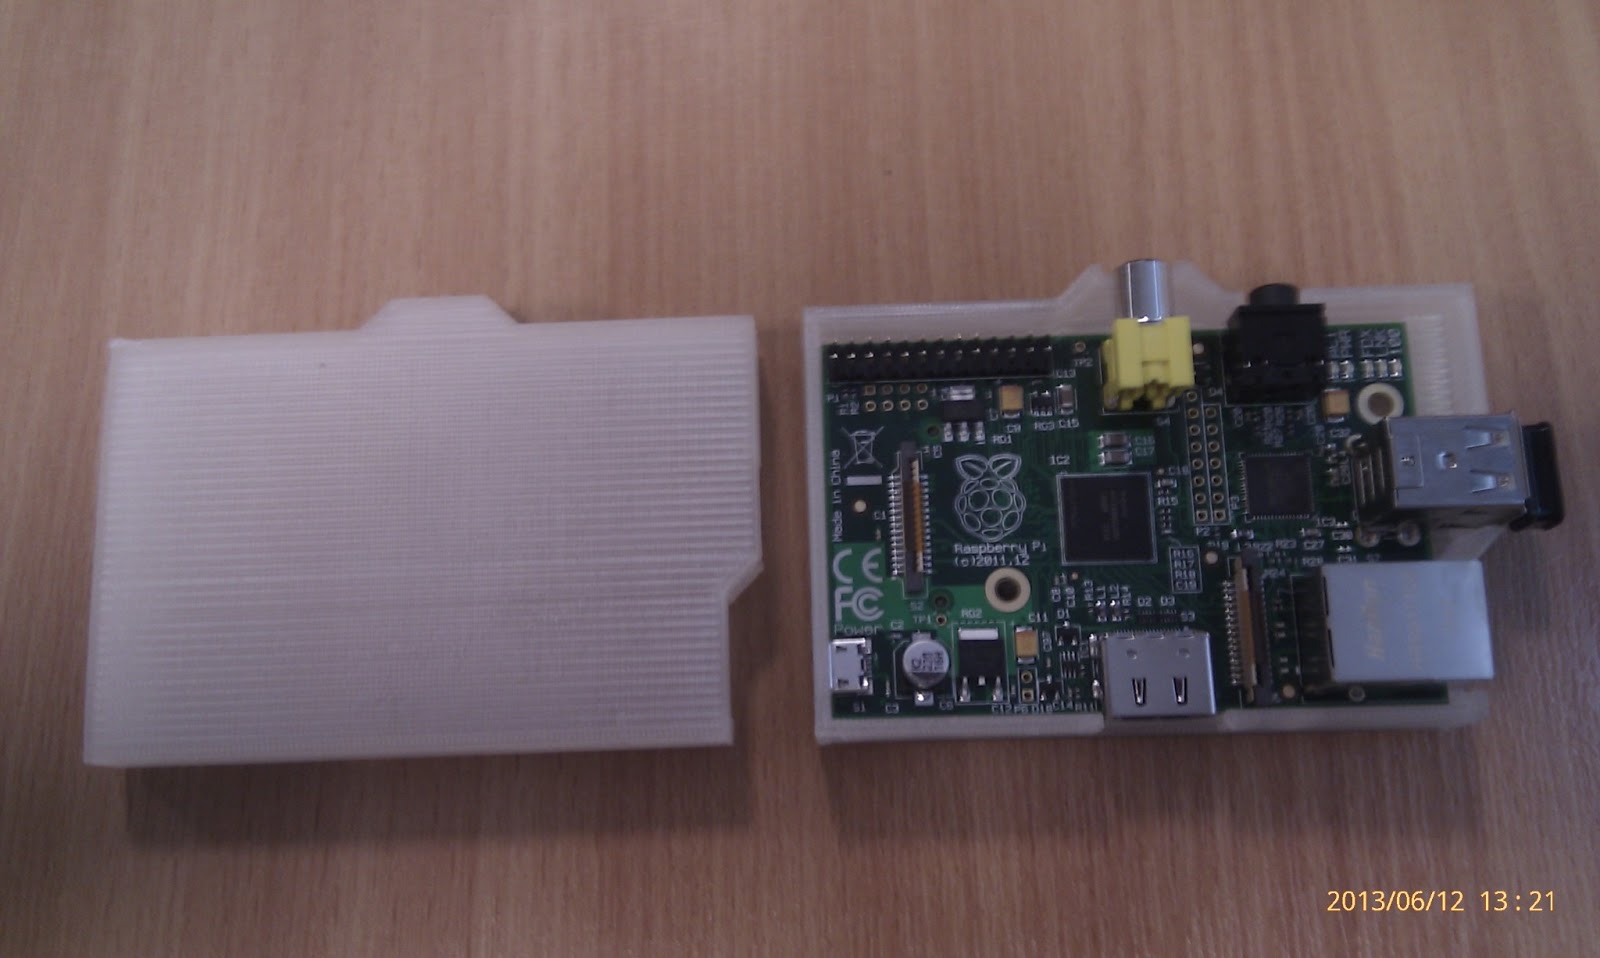
1. Download a "thing" from thingiverse, for example a raspberry pi case by redpeppr. http://www.thingiverse.com/thing:30572
1. Download a "thing" from thingiverse, for example a raspberry pi case by redpeppr. http://www.thingiverse.com/thing:30572
2. Extract the *.STL from the zip file
3. use makerware http://www.makerbot.com/makerware/ to open the *.STL, align it on on the platform properly. click on the "make" button to generate the *.x3g file.
Select parameters such as % infill, thickness, number of shells, etc.
The slicing of the models will take some time, so if it stuck at 33% for "some" time, just let it continue to execute.

4. Copy the *.x3g file to a SD card and plug into the makerbot. Follow the instructions on the LCD screen on makerbot to start printing!!!

Optional step: Use online cad tools such as https://tinkercad.com/ to modify the *.STL downloaded from thingiverse as needed.
Sometimes, i want to save time by selecting 15% infill, but this caused the 3D printed model to collapsed while printing.

The final product: 3 shells, 100% fill; job time 2H56M


2 comments:
hey Shin, cool stuff. how much did the 3d printer cost u?
No idea, because I used it for free courtesy of institute of making
Post a Comment