First stab at administrating, and provisioning VMs’ with CloudStack4.2 with XenServer6.2 via Xen-In-Xen
Provisioning VMs’with CloudStack web based console UI is one of the most intuitive I have used. Let’s assume the CloudStack4.2 is installed, configured, up, and running; XenServer hypervisor has loads of resources waiting to be deployed. If not, check out this guide.
The following steps describe the one-off effort on setting up a CloudStack resource pool for provisioning VMs’. After login via CloudStack console page, proceed by clicking on “continue with basic installation”. It is good to familiarize with the terminology associated with resource pool of CloudStack such as Zone > Pod > Cluster > Host. 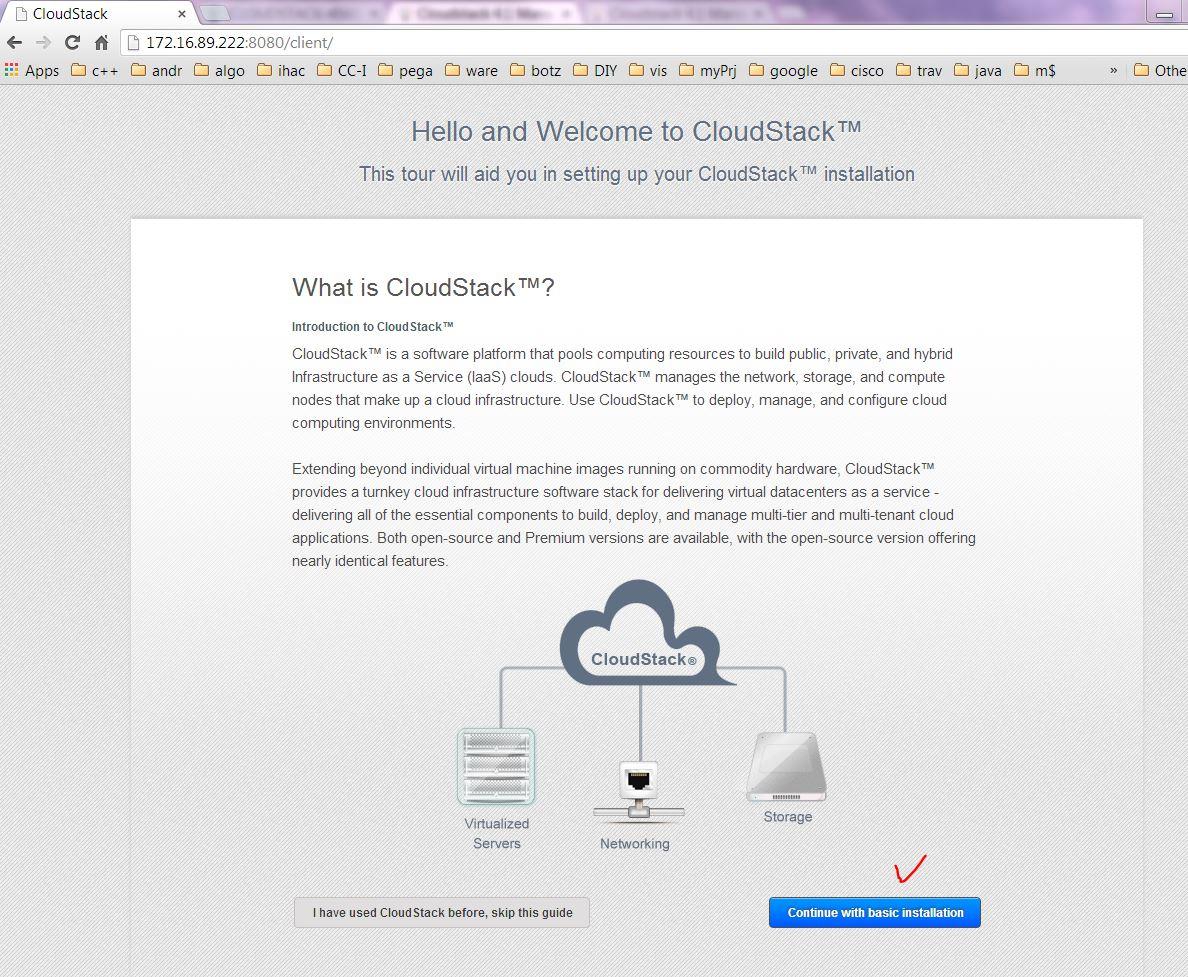
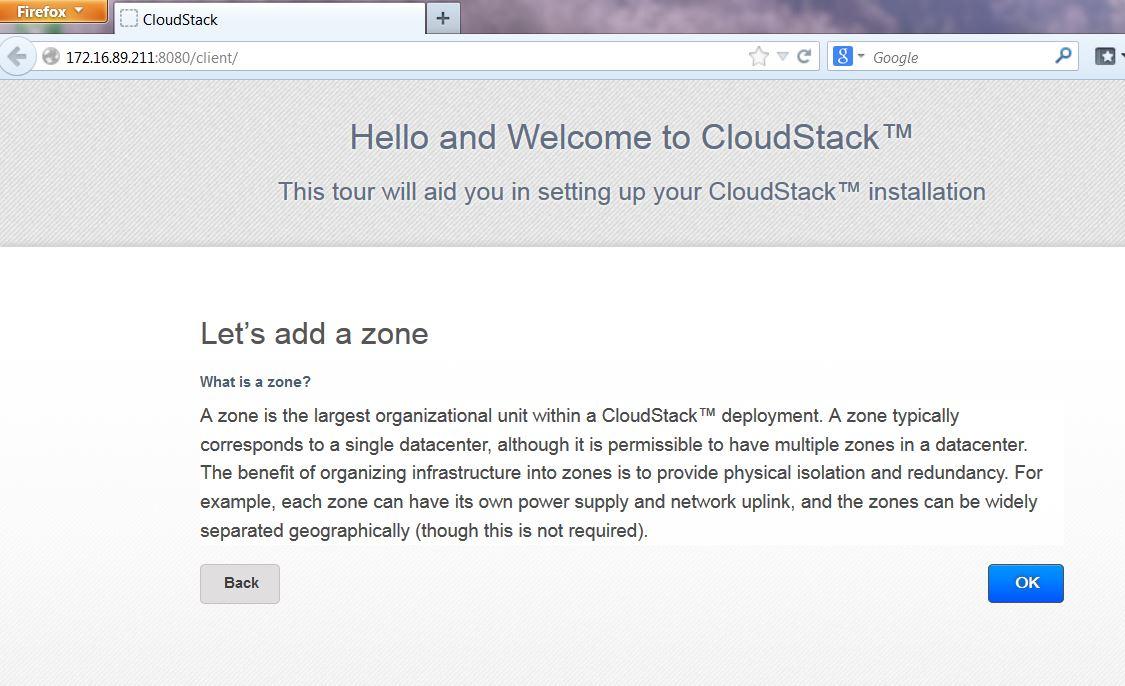

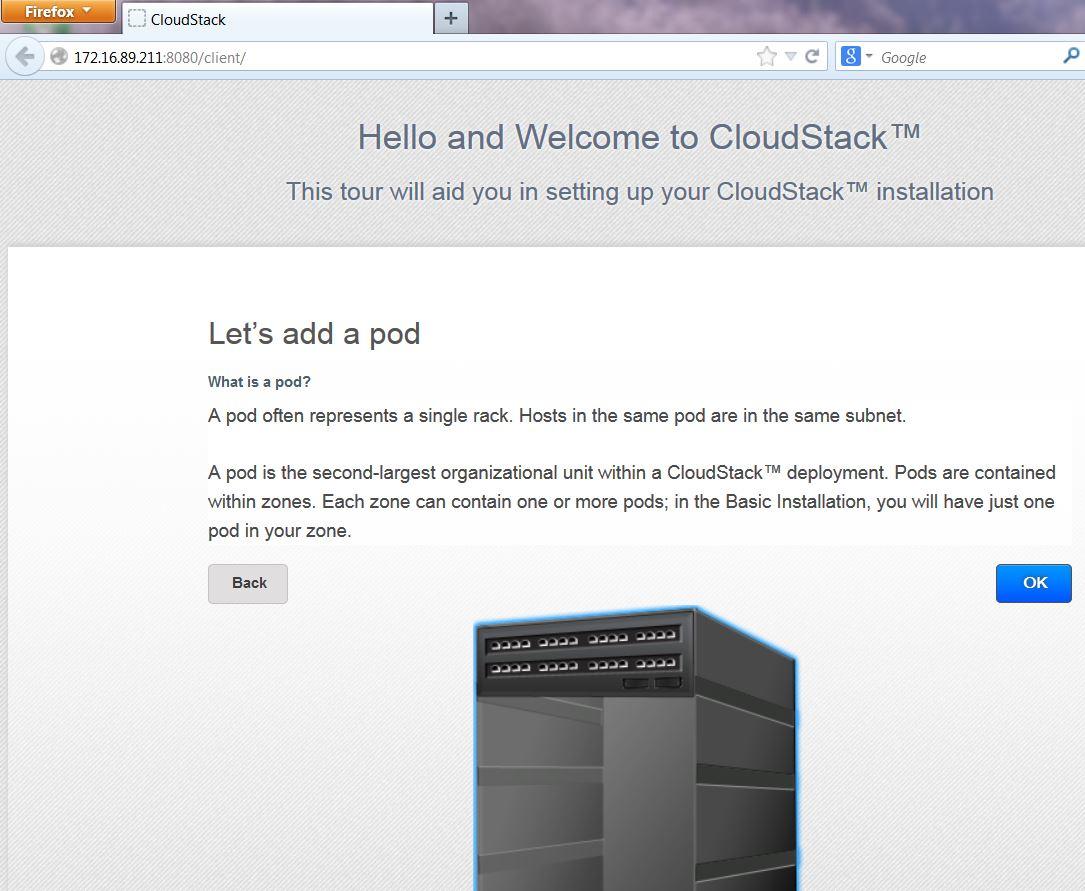

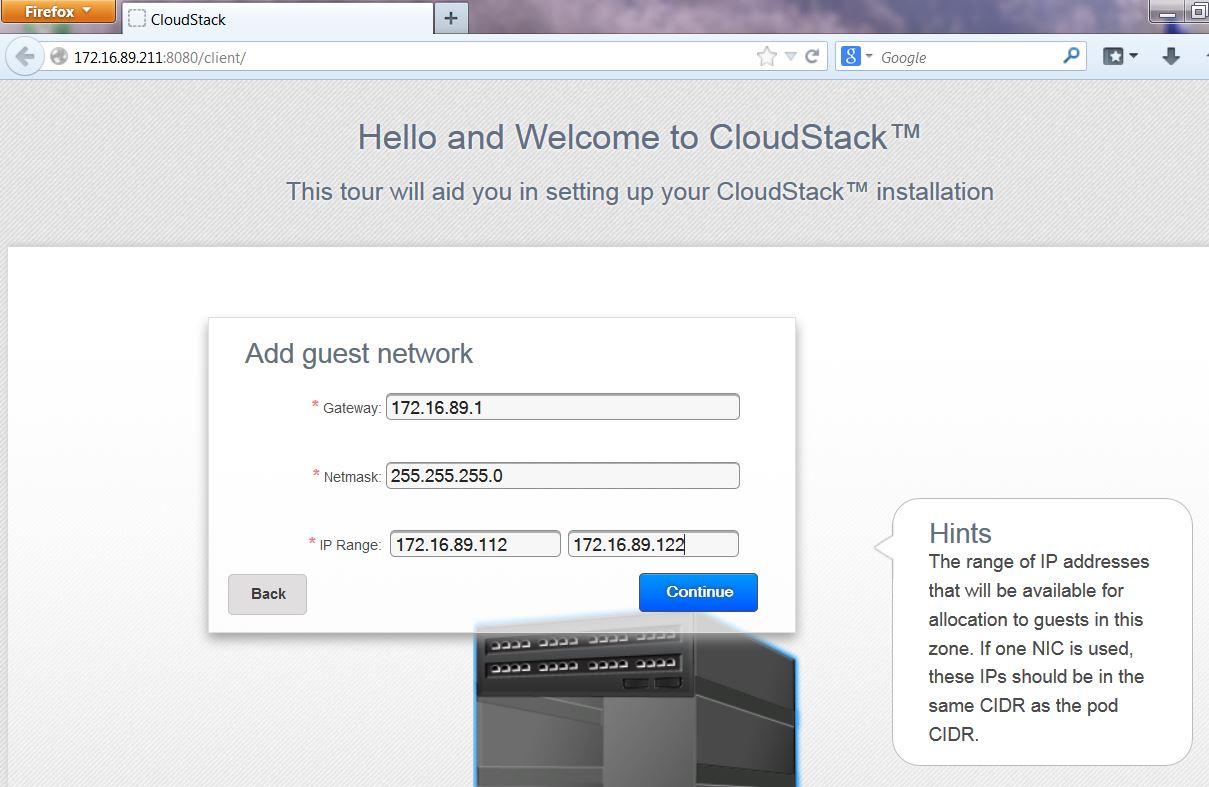
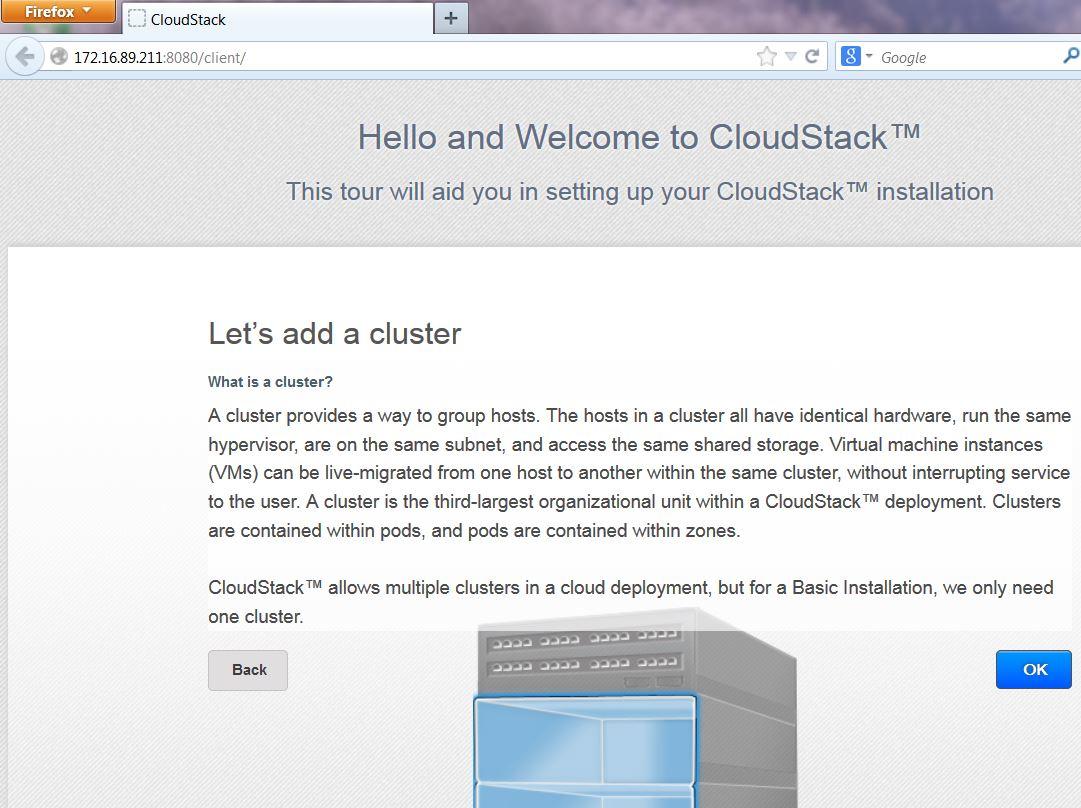
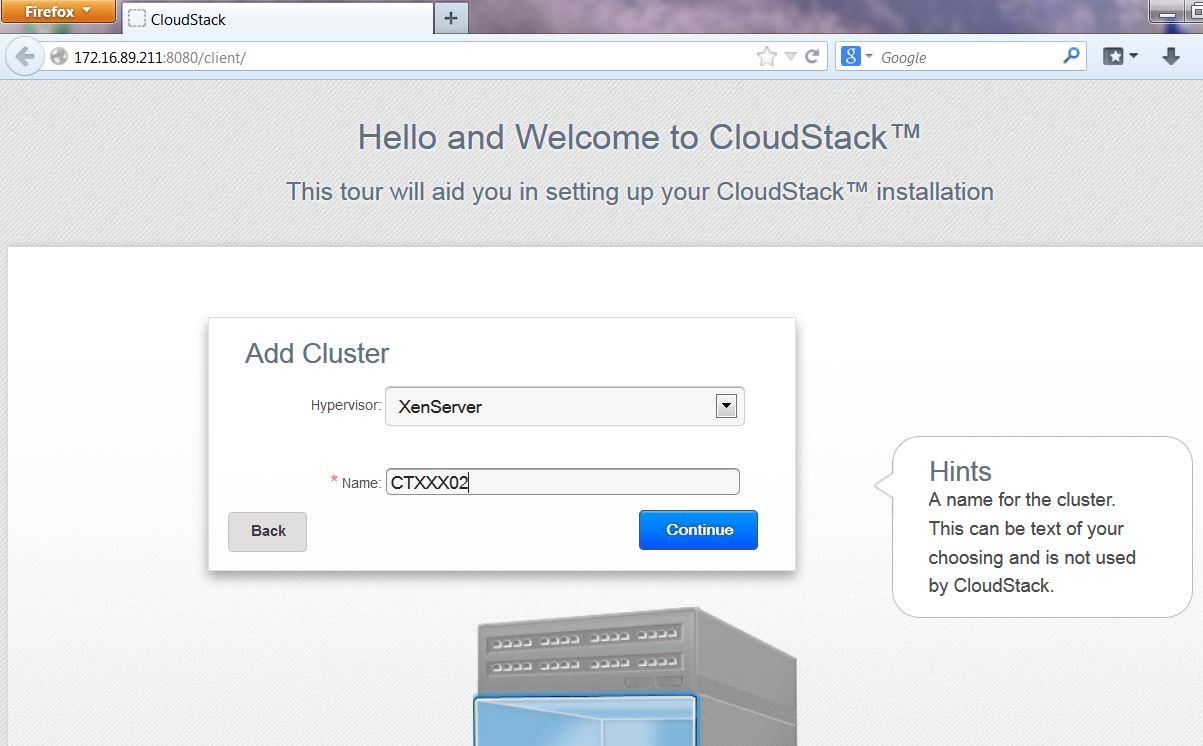
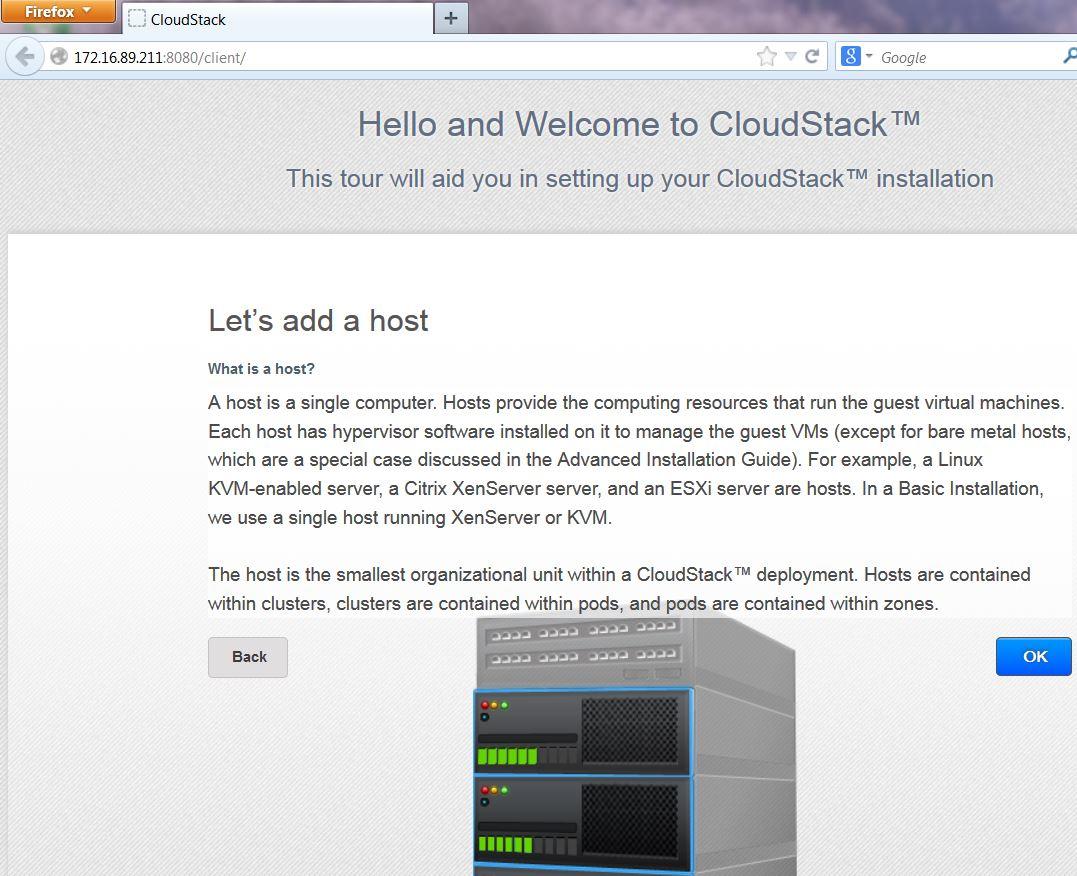
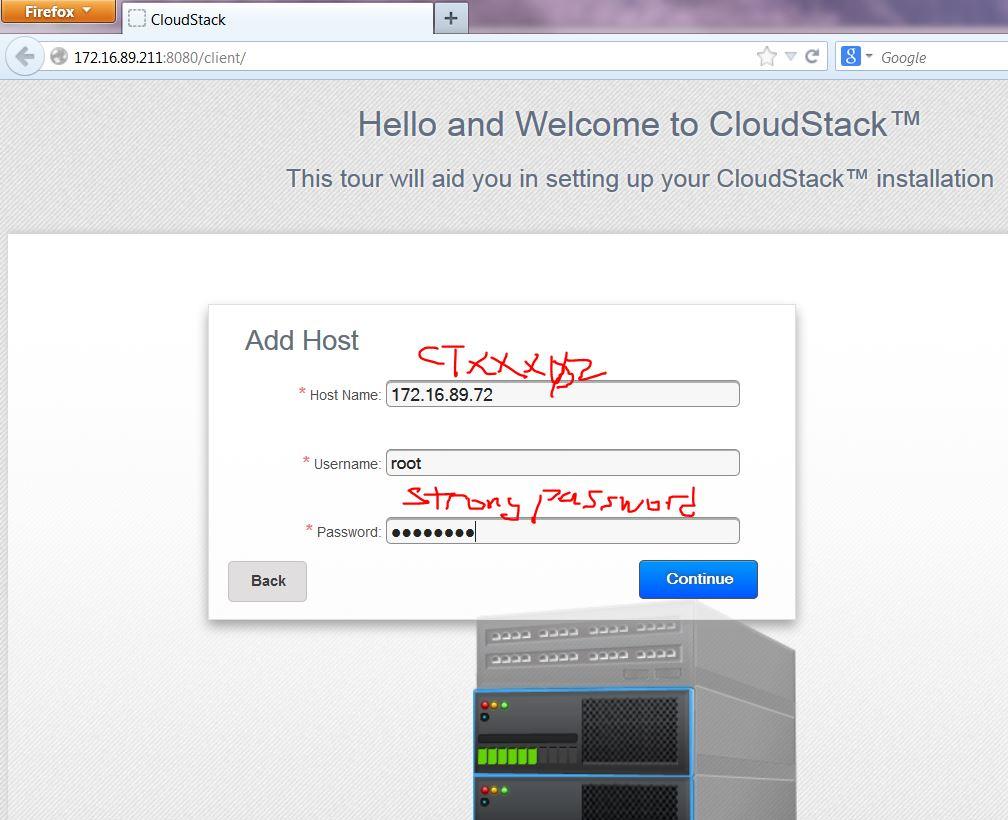

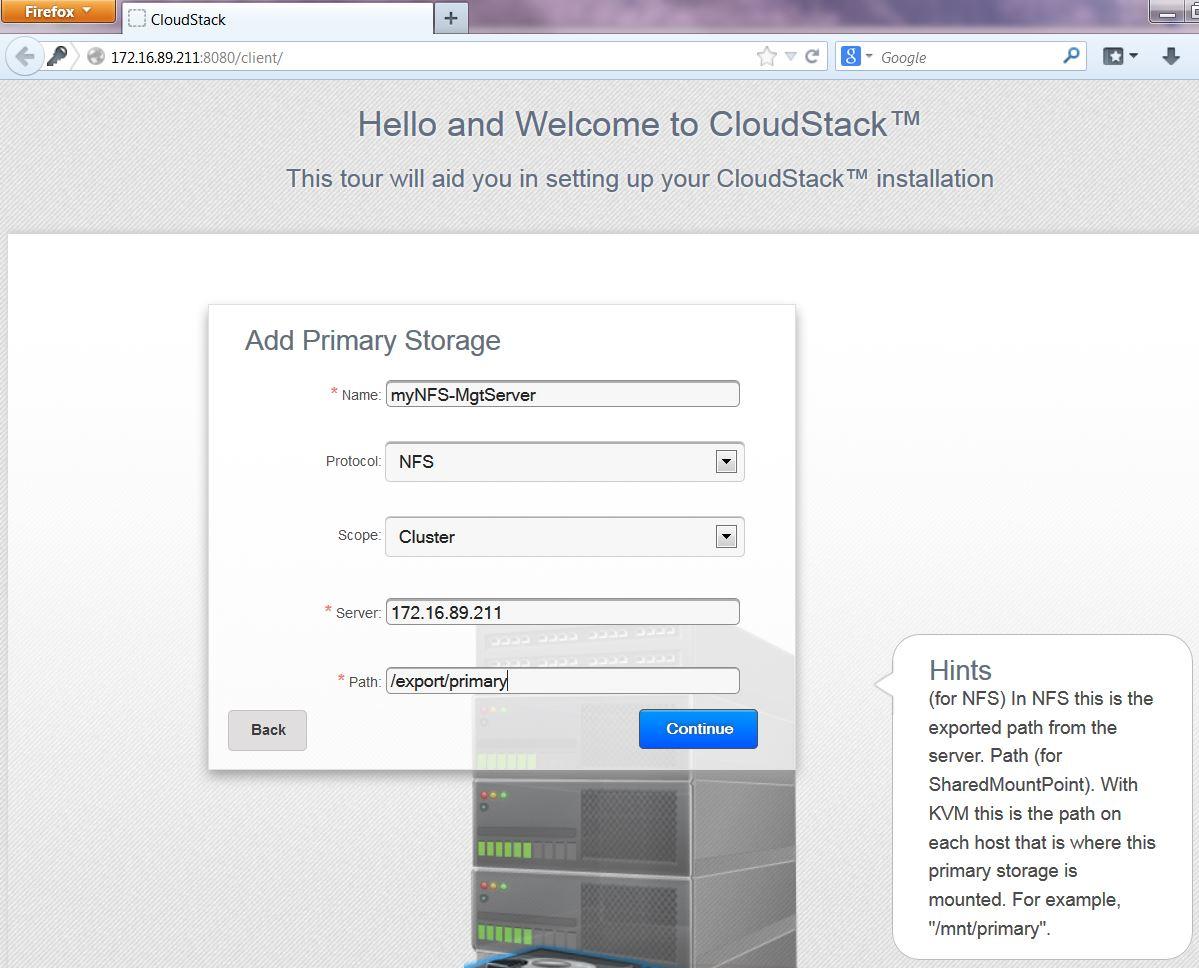
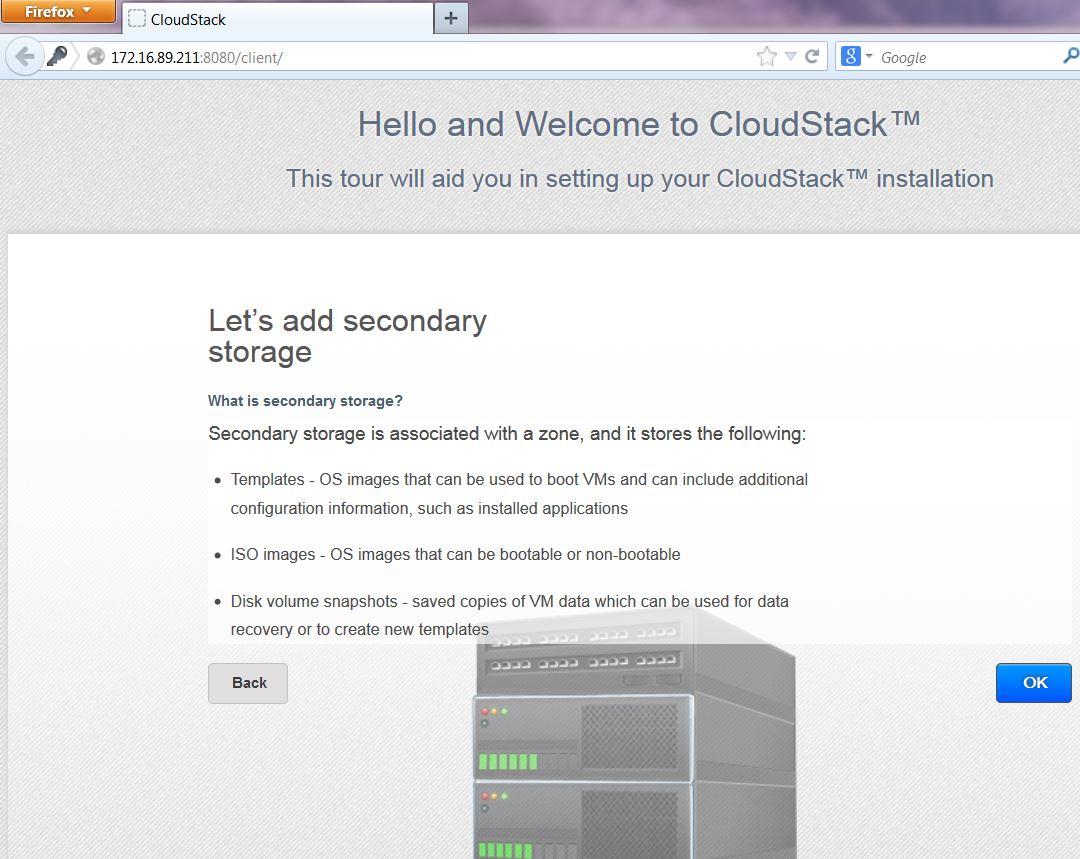
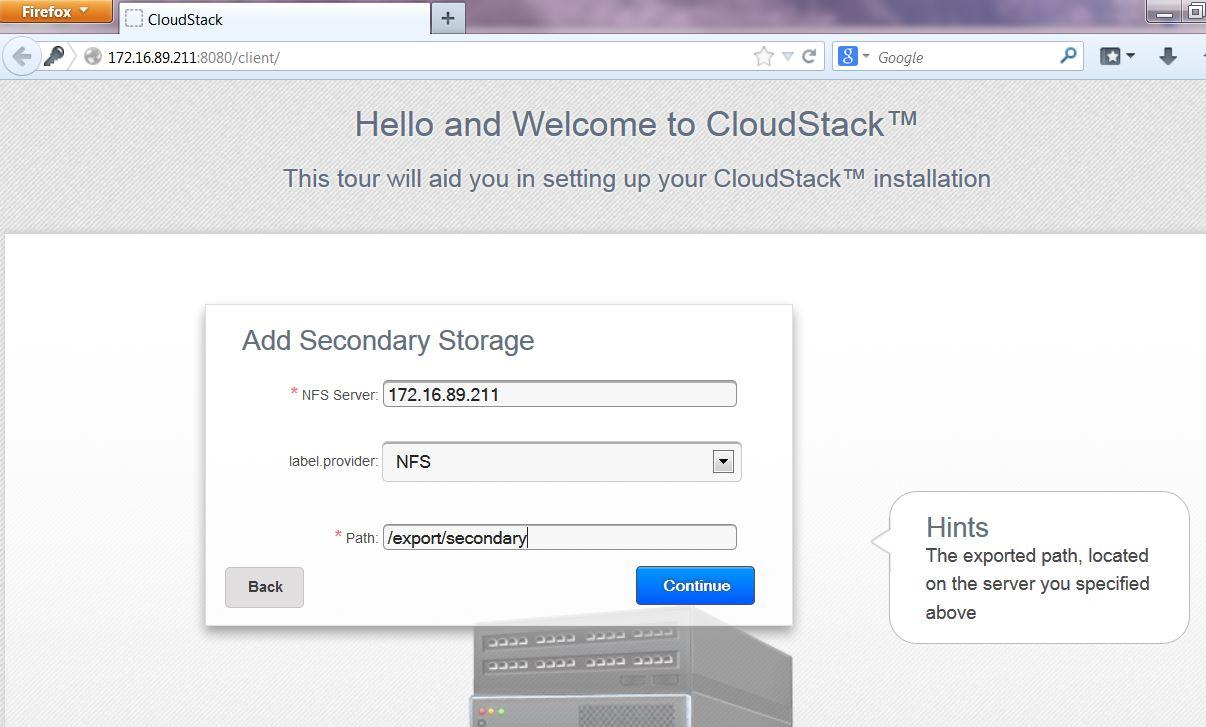

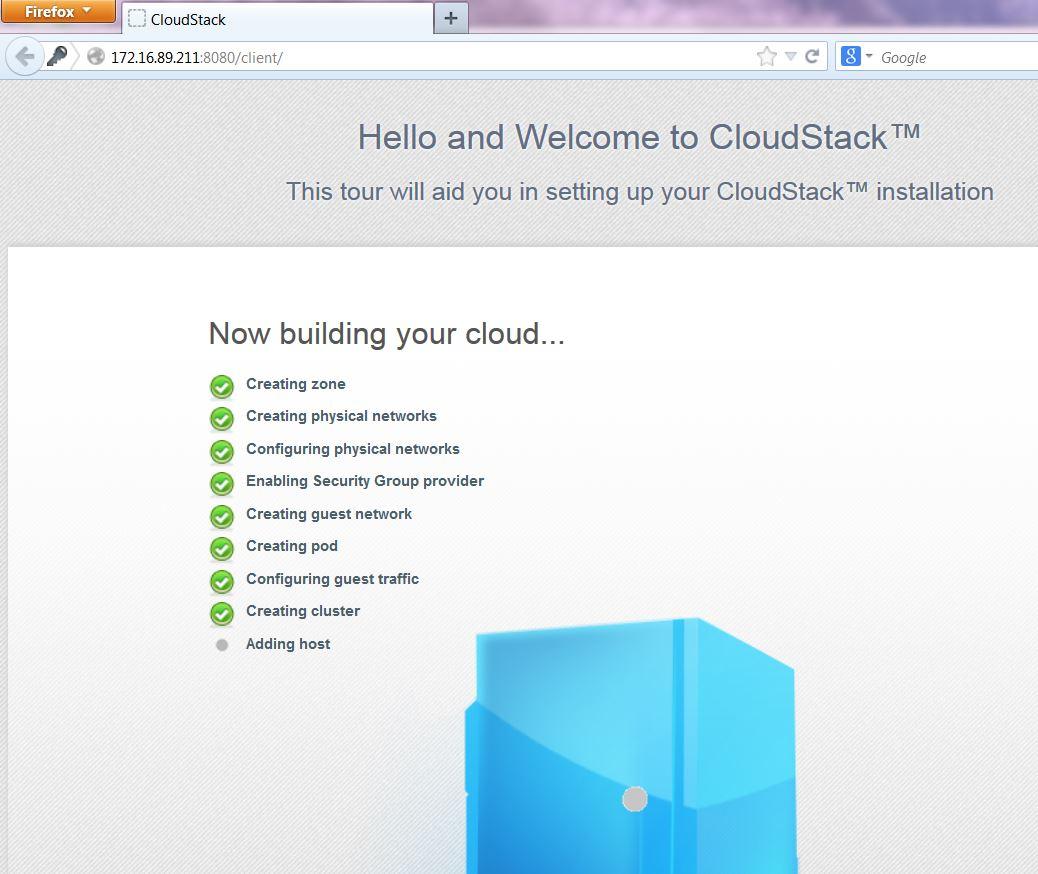
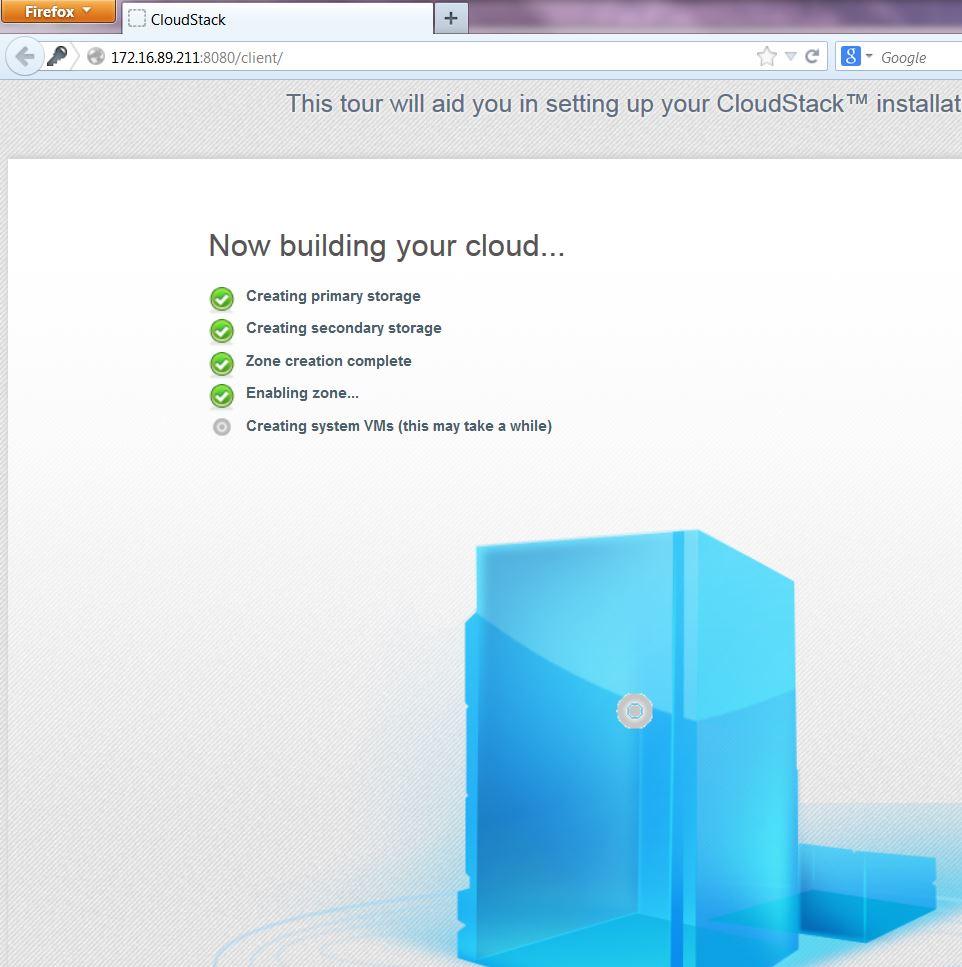
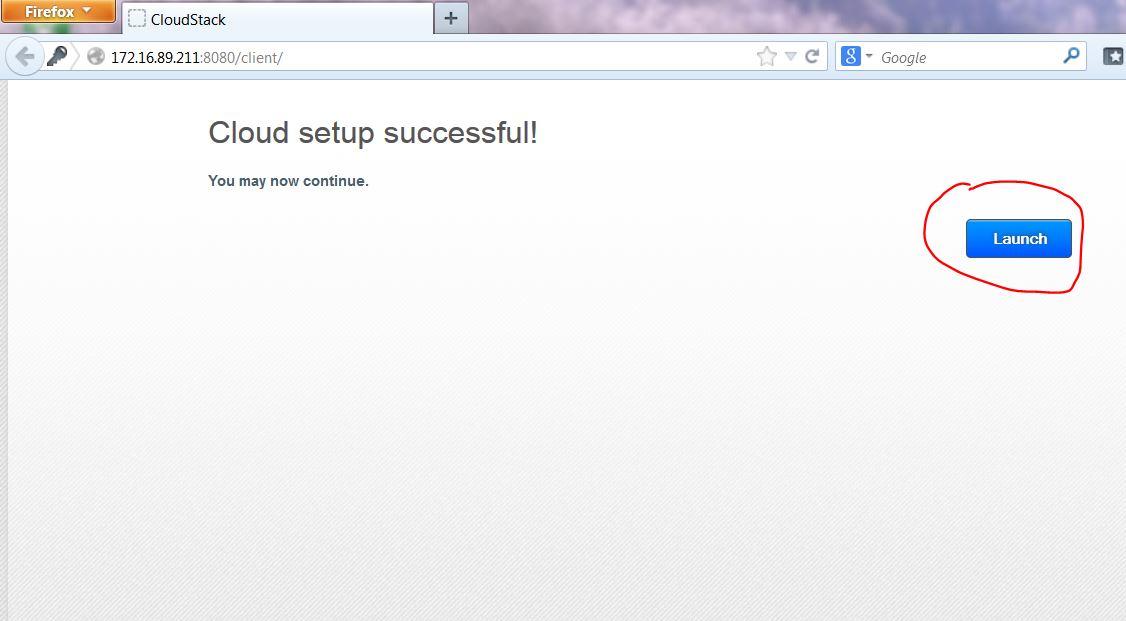
Now the CloudStack resource pool is ready to provision for some VMs’.
Click on launch, and the following resource dashboard will be displayed. 
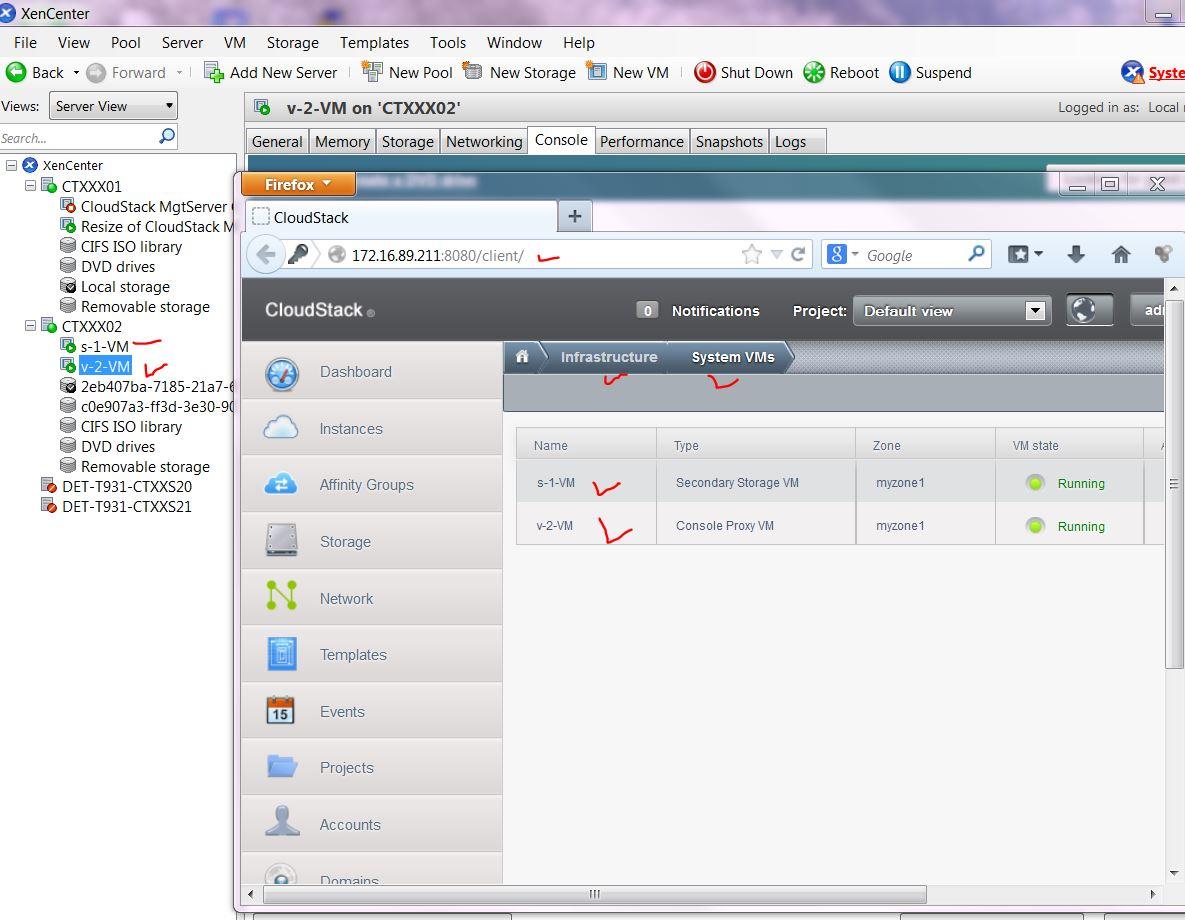
By default, two user VM instances will be created on your behalf by CloudStack.
Add a VM Instance at your finger tips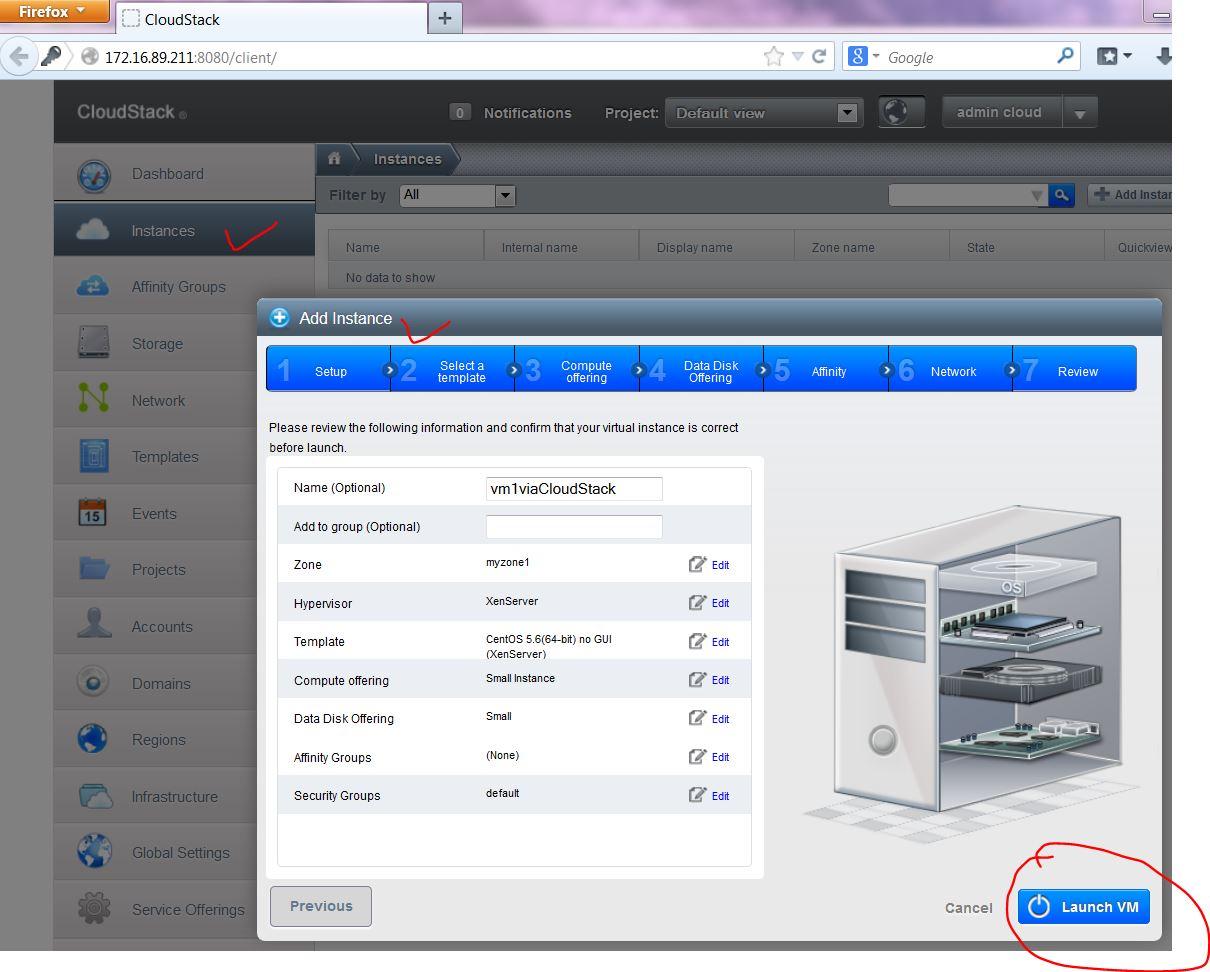
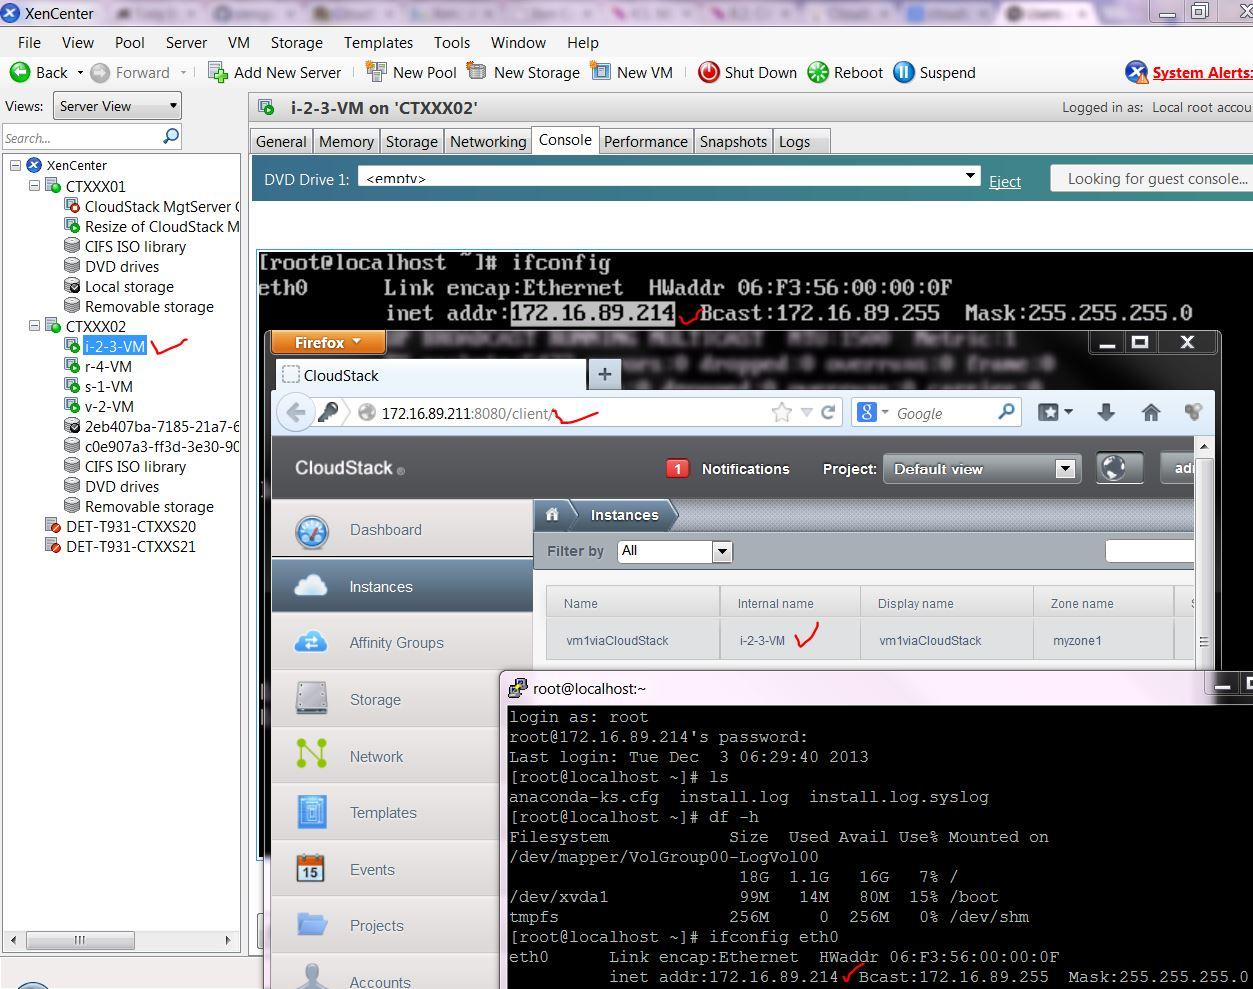
Now, what to do with all of these computing HORSE power?! Coincidentally, it is the year of the HORSE in the Lunar Calendar. Happy Lunar New Year!! 新年快乐,马上赚钱!

No comments:
Post a Comment